Prep Time: 20 minutes | Bake Time: 10 minutes | Total Time: 30 minutes | Makes: 24 cookies
I discovered the wonder of cotton candy cookies during my daughter’s birthday party planning. She desperately wanted something that would taste like her favorite carnival treat but in cookie form. After several kitchen experiments and lots of giggling over pink and blue flour explosions, we created these perfect little gems that became an instant hit with kids and adults alike.
Why These Cotton Candy Cookies Will Become Your New Favorite Treat
What makes these cotton candy cookies so irresistibly special isn’t just their stunning appearance – it’s the way they deliver authentic cotton candy flavors in every single bite. Unlike artificial-tasting imitations, these cookies capture the pure, sweet essence of real spun sugar while maintaining that perfect soft and chewy texture that makes them absolutely addictive.
The Perfect Flavor Balance: These cotton candy cookies achieve that elusive balance between sweetness and complexity. The cotton candy extract provides that distinctive carnival flavor, while vanilla extract adds depth and the butter creates richness that keeps you reaching for just one more cookie.
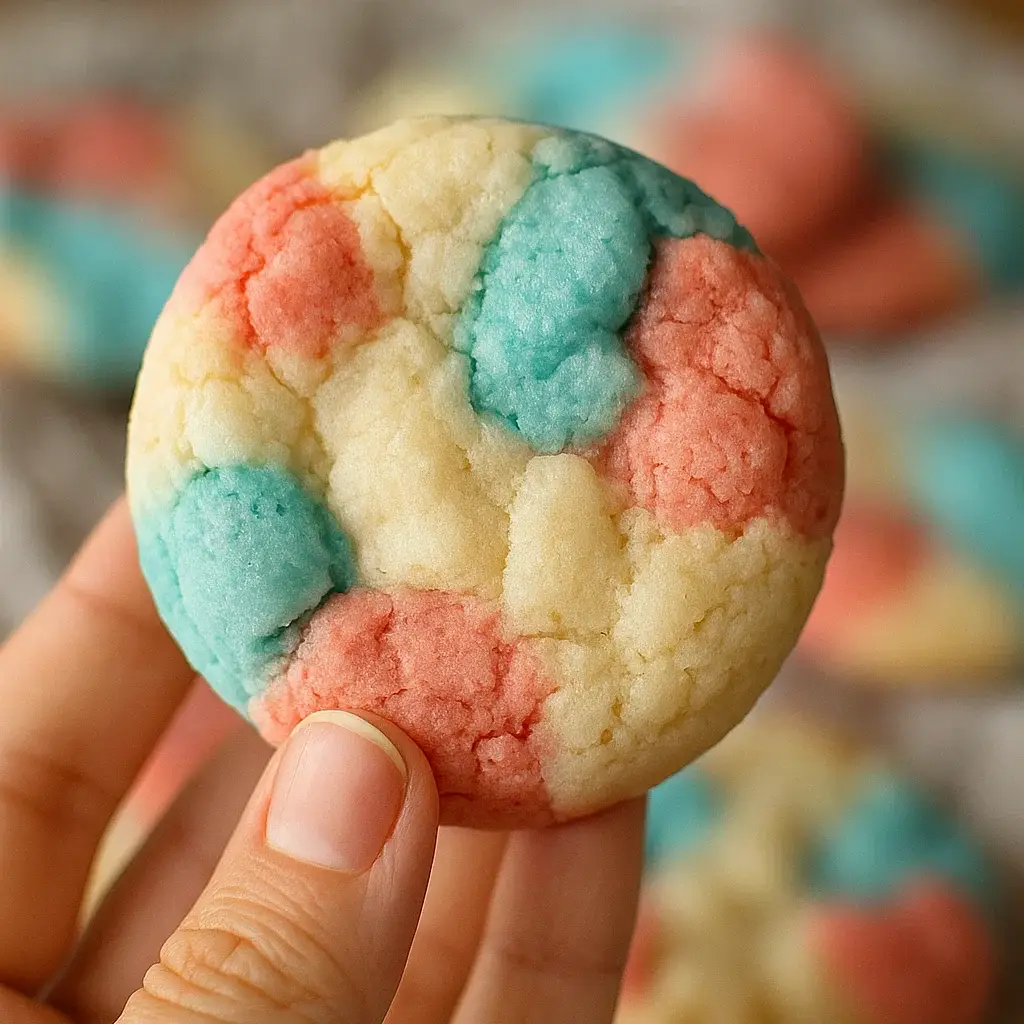
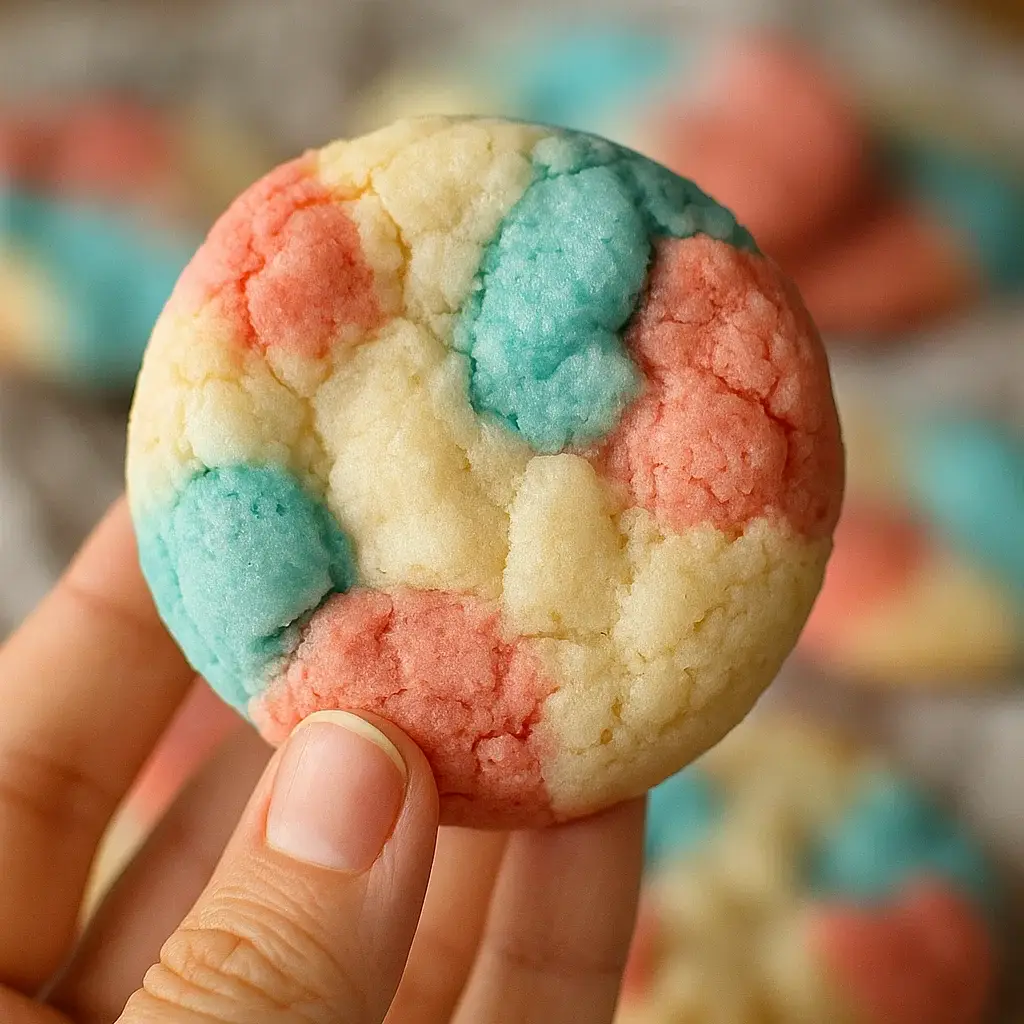
Visual Impact That Wows: The pink and blue swirled appearance of these cotton candy cookies makes them instant conversation starters. Whether you’re hosting a gender reveal party, birthday celebration, or just want to add some whimsy to your day, these cookies deliver that “wow factor” every time.
Surprisingly Simple to Make: Despite their impressive appearance, cotton candy cookies are incredibly straightforward to create. No special equipment needed, no complicated techniques – just basic ingredients and a little food coloring magic.
The Art of Perfect Cotton Candy Cookies
After perfecting this cotton candy cookies recipe through countless batches and family taste tests, I’ve discovered the secrets that separate good from absolutely extraordinary:
Extract Quality Matters: The key to authentic-tasting cotton candy cookies lies in using high-quality cotton candy extract. Don’t substitute with artificial cotton candy flavoring – the real extract makes all the difference in achieving that genuine carnival taste.
Color Swirling Technique: The stunning marbled appearance of these cotton candy cookies comes from proper color swirling. Too much mixing and you lose the distinct colors; too little and the colors don’t distribute evenly. The perfect swirl takes just the right touch.
Temperature and Timing: Perfect cotton candy cookies require precise baking. Too long in the oven and they lose their soft, chewy texture; too short and they don’t set properly. The sweet spot is exactly 8-10 minutes at 350°F.
Premium Ingredients for Spectacular Results
For the Cookie Base:
- 2½ cups all-purpose flour, spooned and leveled (the foundation for perfect texture)
- ½ teaspoon baking soda (provides gentle lift without making cookies cakey)
- ½ teaspoon baking powder (ensures even rising and soft texture)
- ¼ teaspoon fine sea salt (enhances all flavors and balances sweetness)
For the Flavor Profile:
- 1 cup unsalted butter, softened to perfect room temperature (creates richness and tender crumb)
- ¾ cup granulated sugar (provides sweetness and helps create chewy texture)
- 1 large egg, room temperature (binds ingredients and adds richness)
- 1 teaspoon pure vanilla extract (adds depth and complexity)
- ½ teaspoon cotton candy extract (the star flavor that makes these special)
For the Visual Magic:
- Pink gel food coloring (gel colors work best for vibrant results)
- Blue gel food coloring (creates those stunning carnival colors)
- Optional: 1 cup cotton candy pieces, torn into small bits
- Optional: Pink and blue sprinkles for extra sparkle
For the Finishing Touch:
- Extra granulated sugar for rolling (creates sparkling exterior)
- Small pieces of cotton candy for topping (adds authentic carnival appeal)
Master-Level Instructions for Cotton Candy Cookies Perfection
Setting Up for Success:
Step 1: The Perfect Preparation Preheat your oven to 350°F and line two large baking sheets with parchment paper. This temperature is crucial for cotton candy cookies – hot enough to set the edges while keeping centers soft and chewy. Position racks in the upper and lower thirds of your oven for even baking. Allow your butter and egg to come to room temperature about an hour before baking for the best mixing results.
Step 2: Dry Ingredient Mastery In a medium bowl, whisk together flour, baking soda, baking powder, and salt until completely combined. This ensures even distribution of leavening agents throughout your cotton candy cookies. Whisking also aerates the flour slightly, contributing to a more tender final texture.
Creating the Perfect Dough:
Step 3: The Creaming Magic In a large mixing bowl or stand mixer, cream the softened butter and granulated sugar together for 3-4 minutes until light, fluffy, and noticeably paler in color. This creaming process is essential for cotton candy cookies – it incorporates air into the dough, creating that perfect tender texture we’re after. Don’t rush this step; proper creaming makes all the difference.
Step 4: Building Flavor Layers Beat in the egg, vanilla extract, and cotton candy extract until fully incorporated. The mixture might look slightly curdled at this point – that’s completely normal! The cotton candy extract is what gives these cookies their distinctive carnival flavor, so don’t skip or reduce this ingredient.
Step 5: Gentle Incorporation Add the flour mixture to the wet ingredients in two additions, mixing on low speed just until combined after each addition. Overmixing at this stage can lead to tough cotton candy cookies, so stop as soon as you no longer see streaks of flour. The dough should be soft and slightly sticky.
The Color Magic:
Step 6: Perfect Division and Coloring Divide the dough evenly between two bowls using a kitchen scale for accuracy, or eyeball it for equal portions. Add 3-4 drops of pink gel food coloring to one bowl and the same amount of blue to the other. Mix each portion gently until the colors are evenly distributed but not overmixed. The colors should be pastel and dreamy, not neon bright.
Step 7: The Swirling Technique Here’s where cotton candy cookies get their signature look! Take small portions of each colored dough (about a tablespoon each) and gently press them together. Don’t completely blend them – you want distinct swirls of pink and blue throughout. Roll this combined portion into a ball about 1½ inches in diameter. The marbled effect should be visible but not completely mixed.
The Baking Process:
Step 8: Perfect Placement and Shaping Place the swirled dough balls on your prepared baking sheets, spacing them about 2 inches apart to allow for spreading. If desired, roll each ball lightly in granulated sugar before placing on the sheet – this creates a beautiful sparkly exterior on your cotton candy cookies. Gently flatten each ball slightly with your fingers or the bottom of a glass.
Step 9: Baking to Perfection Bake for 8-10 minutes, rotating the pans halfway through for even browning. The cotton candy cookies are done when the edges are set and just beginning to turn golden, but the centers still look slightly underbaked. They’ll continue cooking on the hot pans after removal from the oven. Don’t overbake – these should stay soft and chewy!
Step 10: The Cooling Magic Allow the cotton candy cookies to cool on the baking sheets for 5 minutes before transferring to a wire rack. This brief cooling period prevents them from breaking apart while still warm. If you’re adding cotton candy pieces as decoration, press them gently onto the warm cookies – the residual heat will help them adhere perfectly.
Internal Link Section: Complete Your Sweet Experience
While these magical cotton candy cookies are absolutely perfect on their own, why not explore more amazing recipes that will create the complete sweet celebration experience?
These delightful cookies pair wonderfully with our collection of perfect sides that complement sweet treats beautifully. From fresh fruit platters to creamy dips, these sides balance the sweetness of cotton candy cookies perfectly.
Love the carnival flavors in these cookies? Discover our flavored dips and marinades section where you’ll find sweet fruit dips and dessert sauces that pair wonderfully with festive cookies.
Keep the party going with our selection of refreshing beverages that complement these sweet cotton candy cookies. From fruit punches to flavored waters, these drinks balance rich desserts perfectly.
Looking for more party treats? Our tasty snacks category features bite-sized delights that create the perfect dessert spread alongside cotton candy cookies.
When you want to build complete celebration meals, explore our hearty main dishes for satisfying options that leave room for these delightful sweet treats.
Balance your sweet indulgence with our fresh, vibrant salads that provide a healthy contrast to rich dessert treats like cotton candy cookies.
Expand your dessert repertoire with our irresistible desserts collection featuring more show-stopping sweets that create memorable celebrations.
For special occasions, browse our dinner delights that create memorable meals worthy of finishing with these spectacular cotton candy cookies.
Start celebrations right with our breakfast favorites – these cookies even make special weekend breakfast treats for birthday mornings or special occasions.
Expert Tips for Cotton Candy Cookies Success
Extract Selection: Not all cotton candy extracts are created equal. Look for high-quality brands like LorAnn or Wilton for the most authentic flavor in your cotton candy cookies. Avoid artificial cotton candy flavoring, which can taste harsh or chemical-like.
Color Intensity: Start with less food coloring than you think you need. Gel colors are more concentrated than liquid, and you can always add more. The goal is soft, pastel colors that evoke real cotton candy, not electric brights.
Storage Secrets: Store your cotton candy cookies in an airtight container at room temperature for up to one week. Layer them between parchment paper to prevent sticking, and they’ll maintain their soft, chewy texture perfectly.
Make-Ahead Magic: The dough for cotton candy cookies can be made up to 2 days ahead and refrigerated. Let it come to room temperature before shaping and baking for the best results.
Customizing Your Cotton Candy Cookies
Seasonal Variations: Change up the colors for different occasions! Use red and green for Christmas, orange and black for Halloween, or school colors for team celebrations while keeping that beloved cotton candy flavor.
Extra Cotton Candy Crunch: For an extra special touch, roll the shaped dough balls in crushed cotton candy before baking. The cotton candy will partially melt during baking, creating pockets of intense flavor throughout your cookies.
Frosting Fantasy: Top cooled cotton candy cookies with vanilla buttercream tinted pink and blue for an extra-special presentation. Pipe in swirls to mimic the appearance of real cotton candy.
Sandwich Cookie Style: Make cotton candy cookie sandwiches by pairing two cookies with cotton candy flavored buttercream or marshmallow fluff in between for an over-the-top treat.
The Science Behind Perfect Texture
The soft, chewy texture of perfect cotton candy cookies comes from the precise balance of ingredients and technique. The combination of butter and sugar creates tenderness, while the egg provides structure. The cotton candy extract not only flavors but also contributes to the overall mouthfeel, creating that distinctive carnival treat experience.
Perfect Occasions for Cotton Candy Cookies
These whimsical cotton candy cookies shine at birthday parties, gender reveal celebrations, baby showers, carnival-themed events, and any occasion where you want to add a touch of childhood magic. They’re especially popular at kids’ parties but adults love them just as much – there’s something about that cotton candy flavor that brings out everyone’s inner child.
Troubleshooting Your Cookies
Cookies Spreading Too Much: Your butter might be too warm, or you might need to chill the dough for 30 minutes before baking. Properly measured flour is also crucial for maintaining shape.
Colors Muddy Together: Don’t overmix when swirling the colors. Gentle pressing and minimal handling preserve those beautiful distinct swirls that make cotton candy cookies so visually appealing.
Dry or Crumbly Texture: Usually caused by overbaking or too much flour. Cotton candy cookies should be removed from the oven when centers still look slightly underdone.
Flat Cookies: Check your baking soda and baking powder for freshness. These leavening agents lose potency over time and won’t provide proper lift for fluffy cotton candy cookies.
Final Thoughts on These Magical Treats
There’s something truly special about cotton candy cookies that goes beyond their incredible taste and stunning appearance. They represent pure joy, childhood wonder, and the magic of transforming simple ingredients into something that brings smiles to faces young and old.
These cotton candy cookies have become more than just a recipe in our house – they’ve become a tradition. Whenever someone needs cheering up, when we’re celebrating special occasions, or when we simply want to add a little whimsy to an ordinary day, these cookies deliver every single time.
The best part about mastering cotton candy cookies is watching people’s reactions when they take that first bite. The surprise, the delight, the inevitable “How did you make these taste exactly like cotton candy?” – these moments remind me why baking brings such joy to my life.
So gather your ingredients, embrace the pink and blue flour mess that’s about to happen in your kitchen, and get ready to create some pure magic with these incredible cotton candy cookies. Trust me, once you’ve experienced the joy of making and sharing these whimsical treats, they’ll become a beloved part of your baking repertoire forever!

