| Prep Time: | 25 minutes |
|---|---|
| Chill Time: | 2 hours |
| Total Time: | 2 hours 25 minutes |
| Serves: | 20 |
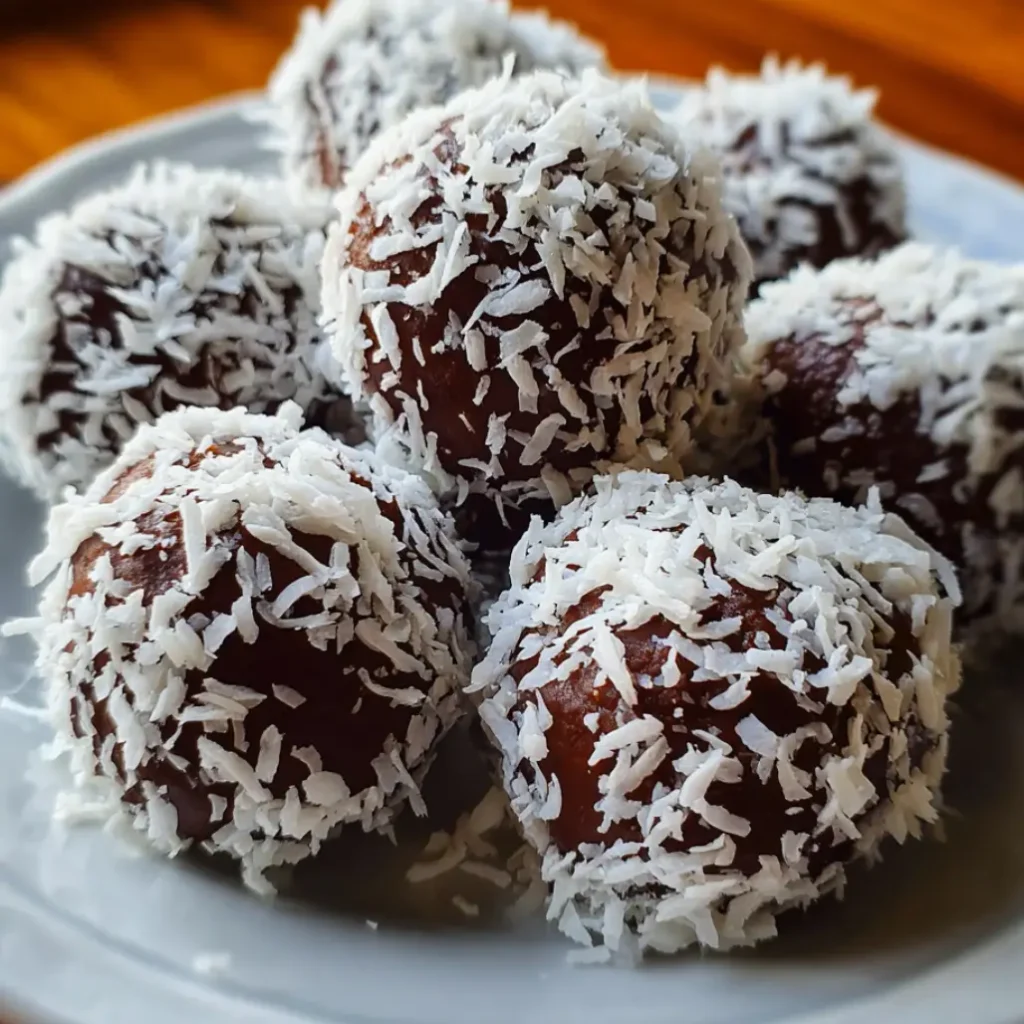
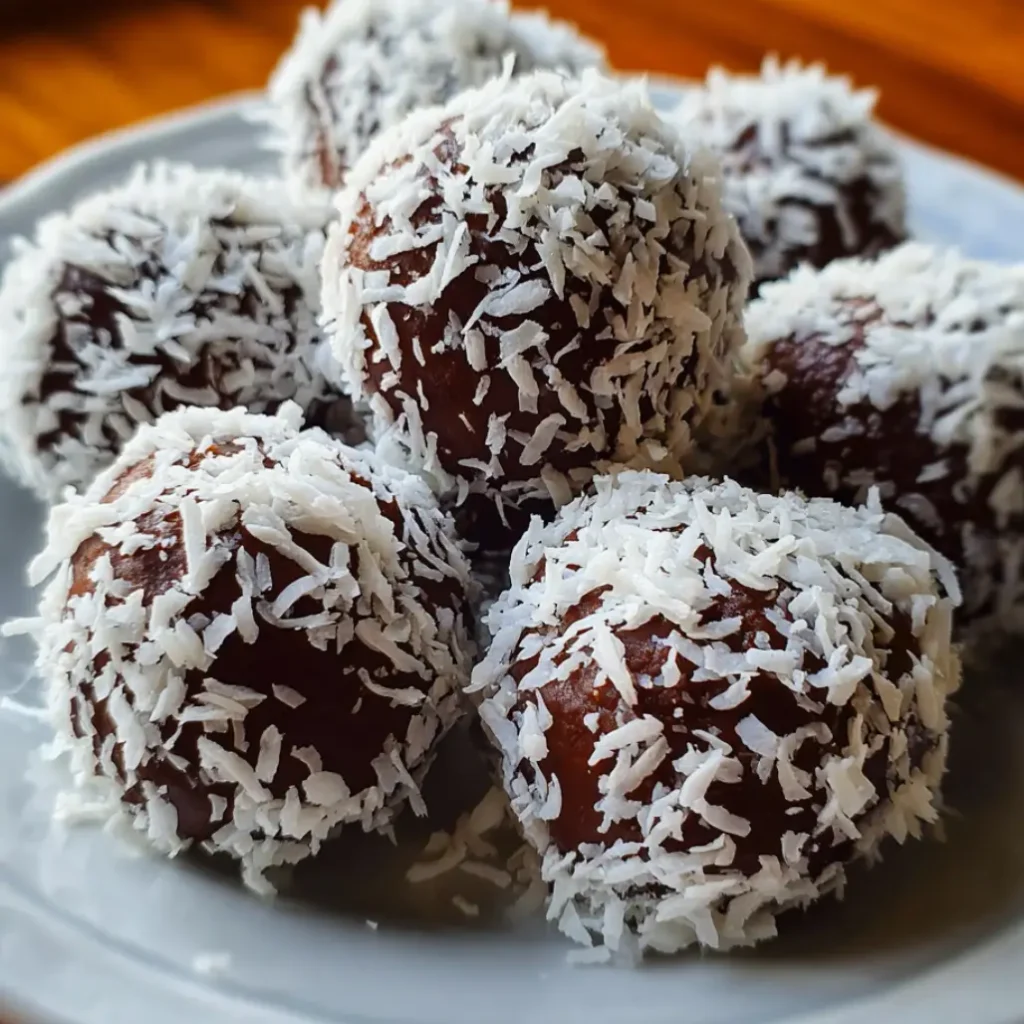
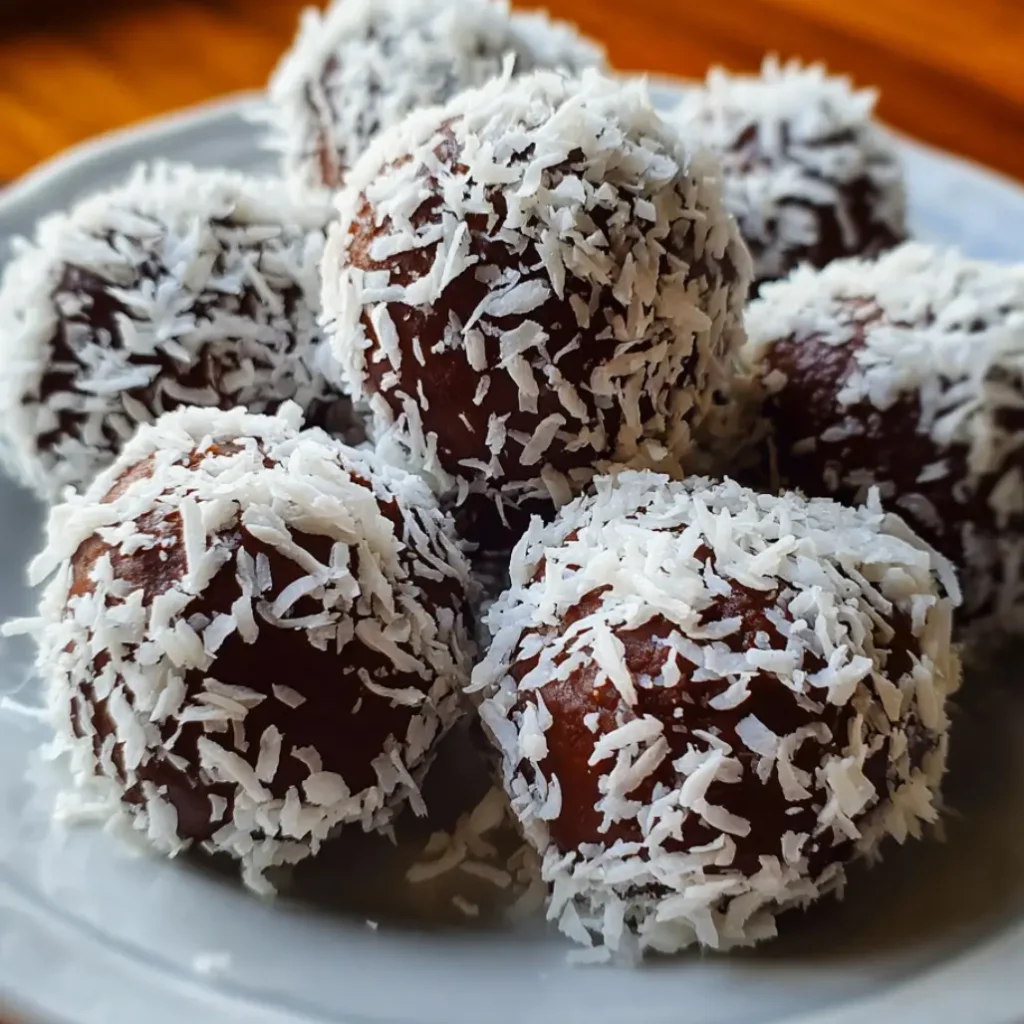
Imagine these irresistible chocolate coconut sweet balls melting on your tongue with their perfect combination of rich chocolate coating and tender coconut center, because this extraordinary recipe transforms simple pantry ingredients into elegant bite-sized confections that rival expensive store-bought candies. These delectable chocolate coconut sweet balls deliver pure indulgence because they combine the tropical sweetness of shredded coconut with luxurious melted chocolate, creating a harmonious blend of textures and flavors that satisfies every dessert craving while requiring no baking whatsoever.
Why Chocolate Coconut Sweet Balls Create Pure Bliss
These remarkable chocolate coconut sweet balls work so magnificently because they unite two universally beloved flavors in a format that maximizes both taste and textural appeal. The coconut filling provides natural sweetness and chewy satisfaction because unsweetened shredded coconut absorbs the condensed milk beautifully, creating a moist, cohesive center that holds together perfectly during the chocolate-coating process.
The magic of these chocolate coconut sweet balls lies in their versatility because they can be customized with various chocolate types, additional flavoring extracts, or creative coatings that transform the basic recipe into personalized creations. The no-bake preparation method makes them accessible to cooks of all skill levels because the process requires only mixing, shaping, and dipping techniques that children can easily master alongside adults.
The preparation timing proves ideal for busy schedules because these chocolate coconut sweet balls require minimal active work time, allowing the refrigerator to do most of the work while you attend to other tasks. The make-ahead friendly nature means you can prepare large batches for holidays, parties, or gift-giving occasions because they store beautifully and actually improve in flavor as the ingredients meld together over time.
Essential Ingredients for Perfect Chocolate Coconut Sweet Balls
For the Coconut Centers:
- 3 cups unsweetened shredded coconut
- 1 can (14 ounces) sweetened condensed milk
- 1/2 cup powdered sugar, sifted
- 2 teaspoons vanilla extract
- 1/4 teaspoon almond extract (optional)
- 1/4 teaspoon salt
- 2 tablespoons coconut oil, melted
For the Chocolate Coating:
- 12 ounces high-quality dark chocolate, chopped
- 2 tablespoons coconut oil or shortening
- 1/4 teaspoon vanilla extract
For Optional Garnishes:
- 1/2 cup finely shredded coconut for rolling
- 1/4 cup chopped toasted almonds
- Sea salt flakes for sprinkling
The Art of Creating Chocolate Coconut Sweet Balls
Mastering these exceptional chocolate coconut sweet balls requires understanding the science behind moisture balance and temperature control because successful candy making depends on achieving the right consistency at each stage of preparation. The coconut mixture must reach the proper texture because too wet results in shapeless masses, while too dry creates crumbly balls that fall apart during chocolate dipping.
The chilling process proves crucial because properly firmed centers maintain their shape during the chocolate coating phase, preventing the warm chocolate from melting the coconut filling. Temperature management becomes essential during chocolate melting because overheated chocolate develops grainy texture and poor coating properties that diminish the final product’s appearance and mouthfeel.
The coating technique requires practice because achieving smooth, even coverage depends on proper chocolate consistency and efficient working methods. Understanding these fundamental principles ensures consistent results because each batch will meet professional standards that impress family members and guests alike.
Step-by-Step Instructions for Chocolate Coconut Sweet Balls
Step 1: Prepare the Coconut Foundation
Combine shredded coconut, powdered sugar, and salt in a large mixing bowl because thorough blending ensures even sweetness distribution throughout the mixture. Pour sweetened condensed milk, vanilla extract, almond extract, and melted coconut oil over the dry ingredients because gradual liquid addition prevents clumping and promotes smooth incorporation.
Professional Tip: Use your hands to mix the ingredients because fingers can feel the texture better than spoons and ensure complete moisture distribution throughout the coconut.
Key Points: The mixture should hold together when squeezed but not be overly wet because proper consistency is essential for successful shaping and coating later.
Step 2: Shape the Coconut Centers
Line a large baking sheet with parchment paper because this prevents sticking and makes transfer easier once the centers are firm. Using a small cookie scoop or tablespoon, portion the coconut mixture into uniform amounts because consistent sizing ensures even coating and professional appearance.
Professional Tip: Lightly dampen your hands with cold water because this prevents the sticky mixture from adhering to your palms while rolling the centers into smooth balls.
Key Points: Roll each portion between your palms to create perfectly round shapes because uniform balls dip more evenly and look more professional when finished.
Step 3: Chill the Centers Properly
Place the shaped coconut balls on the prepared baking sheet, spacing them about an inch apart because adequate air circulation promotes even chilling. Refrigerate for at least 2 hours or freeze for 30 minutes because properly firm centers are essential for successful chocolate coating without melting or deformation.
Professional Tip: Cover the baking sheet with plastic wrap because this prevents the coconut balls from absorbing refrigerator odors and developing surface dryness.
Key Points: Test firmness by gently pressing one ball because it should hold its shape without indenting, indicating readiness for the chocolate coating process.
Step 4: Prepare the Chocolate Coating
Chop chocolate into uniform pieces because even sizing promotes smooth, consistent melting without scorching or seizing. Melt chocolate and coconut oil using a double boiler or microwave method because gentle heating preserves the chocolate’s smooth texture and glossy appearance.
Professional Tip: Stir chocolate every 30 seconds during microwave melting because this prevents overheating and ensures smooth, workable consistency for dipping.
Key Points: The melted chocolate should flow smoothly off a spoon because proper consistency is crucial for achieving thin, even coatings on each ball.
Step 5: Execute the Coating Process
Remove coconut centers from refrigerator and work with small batches because prolonged exposure to room temperature can soften the centers before coating is complete. Using two forks or a dipping tool, lower each ball into the melted chocolate because this method provides better control than using fingers.
Professional Tip: Tap the fork gently against the bowl edge because this removes excess chocolate and prevents thick, uneven coatings that obscure the coconut shape.
Key Points: Allow excess chocolate to drip off completely because thin, smooth coatings are more attractive and provide better textural contrast with the coconut center.
Step 6: Set and Finish the Balls
Place coated chocolate coconut sweet balls back on the parchment-lined baking sheet because this prevents sticking while the chocolate firms up completely. Work quickly but carefully because the chocolate begins setting immediately upon contact with the chilled centers.
Professional Tip: Sprinkle optional garnishes like coconut flakes or sea salt while the chocolate is still soft because they will adhere better and stay in place.
Key Points: Refrigerate the finished chocolate coconut sweet balls for 15 minutes because this final chilling ensures completely set chocolate that won’t fingerprint when handled.
Professional Tips for Perfect Chocolate Coconut Sweet Balls
Quality ingredients make a significant difference because premium chocolate and fresh coconut create superior flavor compared to bargain alternatives. Choose chocolate with at least 60% cacao content because higher quality chocolate melts more smoothly and provides better flavor complexity that complements the sweet coconut centers.
Temperature control throughout the process prevents common problems because warm kitchens can soften centers before coating, while overly cold chocolate becomes thick and difficult to work with. Maintain consistent room temperature around 70°F because this provides ideal working conditions for both shaping and coating phases.
Make-ahead preparation saves time because you can shape the coconut centers up to three days in advance, storing them covered in the refrigerator until ready to coat. This advance preparation actually improves texture because the flavors meld and the centers become slightly firmer, making them easier to handle during the dipping process.
Creative Variations for Chocolate Coconut Sweet Balls
Transform these basic chocolate coconut sweet balls into exciting alternatives because versatility allows you to explore different flavor profiles and accommodate various dietary preferences. Substitute dark chocolate with white chocolate or milk chocolate because each variety creates distinct taste experiences that appeal to different palates and occasions.
Add flavor extracts like rum, orange, or coffee because these aromatics enhance the coconut base while creating sophisticated adult-oriented treats. Incorporate chopped nuts, dried fruit, or mini chocolate chips into the coconut mixture because these additions provide textural interest and flavor complexity that elevates the basic recipe.
Consider rolling some balls in toasted coconut, cocoa powder, or crushed cookies before the final chocolate coating because these intermediate layers create beautiful visual appeal and additional flavor dimensions that surprise and delight recipients.
Perfect Pairing Ideas for Chocolate Coconut Sweet Balls
These rich chocolate coconut sweet balls pair beautifully with light, refreshing accompaniments that balance their indulgent nature because contrasting textures and flavors create more enjoyable dessert experiences. Serve alongside fresh fruit salads from https://tastymiddles.com/category/salads/ because acidic fruits cleanse the palate between bites of rich chocolate and coconut.
Present as part of elegant dessert platters featuring items from https://tastymiddles.com/category/snacks-appetizers/ because varied small bites allow guests to sample different flavors and textures throughout the evening. Complement with lighter side options from https://tastymiddles.com/category/perfect-sides/ because balanced presentations satisfy different appetite levels and dietary preferences.
Coffee and tea provide excellent beverage pairings because their slight bitterness offsets the sweetness while enhancing the chocolate flavors. Consider serving with champagne or dessert wines because bubbles and acidity cut through the richness while creating celebratory atmospheres for special occasions.
Discover More Sweet Treat Inspirations
Expand your confection-making skills with complementary recipes that share similar no-bake techniques because building expertise with candy-making methods enhances your overall dessert repertoire. Explore breakfast treats at https://solushrecipes.com/category/breakfast-favorites/ because many morning pastries use similar ingredient combinations and preparation methods.
Enhance your entertaining options with savory sides from https://solushrecipes.com/category/savory-sides/ because offering both sweet and savory options creates more comprehensive party spreads that satisfy diverse tastes. Consider refreshing beverages from https://solushrecipes.com/category/refreshing-beverages/ because well-chosen drinks balance rich desserts and cleanse palates between courses.
Complete your culinary education with marinades and flavor enhancers from https://solushrecipes.com/category/flavored-dips-marinades/ because understanding flavor development principles applies to both savory and sweet cooking applications, improving your overall cooking confidence and creativity.
Storage Guidelines for Chocolate Coconut Sweet Balls
Proper storage techniques preserve both flavor and texture because these chocolate coconut sweet balls maintain quality for extended periods when handled correctly. Store in airtight containers with parchment paper between layers because this prevents the chocolate coatings from sticking together while maintaining optimal moisture levels.
Refrigerated storage extends shelf life to two weeks because cool temperatures prevent the coconut filling from spoiling while keeping the chocolate coating firm and attractive. Freezer storage works excellently for up to three months because individually wrapped balls maintain quality and can be thawed as needed for unexpected guests or personal treats.
Room temperature storage is acceptable for up to one week in cool conditions because the chocolate coating provides protection, but avoid warm environments because heat can cause chocolate bloom and coconut filling degradation that affects both appearance and taste.
The Science Behind Perfect Chocolate Coconut Sweet Balls
Understanding ingredient interactions improves results because knowledge of how coconut absorbs moisture, how chocolate behaves at different temperatures, and how emulsification works helps predict outcomes and troubleshoot problems. The sweetened condensed milk acts as both sweetener and binder because its high sugar content and thick consistency holds the coconut together while providing necessary moisture.
Chocolate tempering principles apply even to simple melting because proper heating and cooling create stable crystal structures that produce glossy, smooth coatings that don’t bloom or develop white spots over time. The coconut oil addition to chocolate serves as a thinning agent because it lowers the melting point and improves flow characteristics without compromising flavor.
Fat content balance between coconut, condensed milk, and chocolate affects final texture because too much fat creates soft, difficult-to-handle centers, while insufficient fat results in dry, crumbly balls that don’t coat evenly or taste as rich and satisfying.
Troubleshooting Common Chocolate Coconut Sweet Balls Issues
Crumbly centers that fall apart indicate insufficient moisture because the coconut mixture needs enough liquid to bind properly, so add condensed milk gradually until the mixture holds together when squeezed. Sticky, shapeless centers suggest excess moisture because the mixture contains too much liquid, so incorporate additional coconut or powdered sugar until manageable consistency is achieved.
Chocolate coating that slides off occurs when centers aren’t cold enough because warm surfaces prevent chocolate adhesion, so ensure thorough chilling before dipping begins. Thick, lumpy chocolate coatings result from overheating because excessive heat causes chocolate to seize, so melt gently and add small amounts of coconut oil to restore smooth consistency.
Uneven coating coverage happens when working too quickly or with improper tools because rushed dipping creates gaps and thick spots, so use proper dipping forks and allow excess chocolate to drip off completely before transferring to cooling racks.
Additional Sweet Recipe Inspirations
Continue your dessert-making journey with elegant endings from https://tastymiddles.com/category/dessert-recipes/ because expanding your repertoire with various chocolate and coconut preparations creates more comprehensive entertaining options and builds confidence with different candy-making techniques.
Consider seasonal variations because holiday-themed versions using different chocolate types, colored coatings, or festive garnishes create memorable gifts and party contributions that showcase your developing culinary skills and attention to presentation details.
Remember that candy making improves with practice because each batch teaches valuable lessons about ingredient behavior, timing, and technique refinement that enhance future baking and confection projects, building expertise that benefits all areas of dessert preparation.
Conclusion
These extraordinary chocolate coconut sweet balls represent the perfect balance of simplicity and elegance because they transform basic ingredients into sophisticated confections that rival expensive chocolatier creations while remaining accessible to home cooks of all experience levels. The combination of tenderCategories coconut centers and smooth chocolate coating creates a multi-textural experience because each bite delivers tropical sweetness followed by rich chocolate satisfaction that appeals to both children and adults equally.
Whether preparing these chocolate coconut sweet balls for holiday gift-giving, special celebrations, or simple weeknight indulgences, they guarantee impressive results because the no-bake preparation method eliminates baking uncertainties while the customizable nature allows for creative personalization that reflects your unique style and preferences. The make-ahead friendly characteristics and excellent storage properties make these chocolate coconut sweet balls practical choices for busy schedules because advance preparation ensures delicious homemade treats are always available for unexpected guests or personal enjoyment.

