Prep Time: 15 minutes | Baking Time: 15 minutes | Total Time: 30 minutes | Serves: 8-10 rollups
Why These Cheesy Garlic Butter Rollups Will Become Your Go-To Recipe
There’s something magical about cheesy garlic butter rollups that makes them impossible to resist. Unlike complicated appetizers that require hours of preparation, these rollups deliver maximum flavor with minimal effort, making them perfect for both novice cooks and busy hosts.
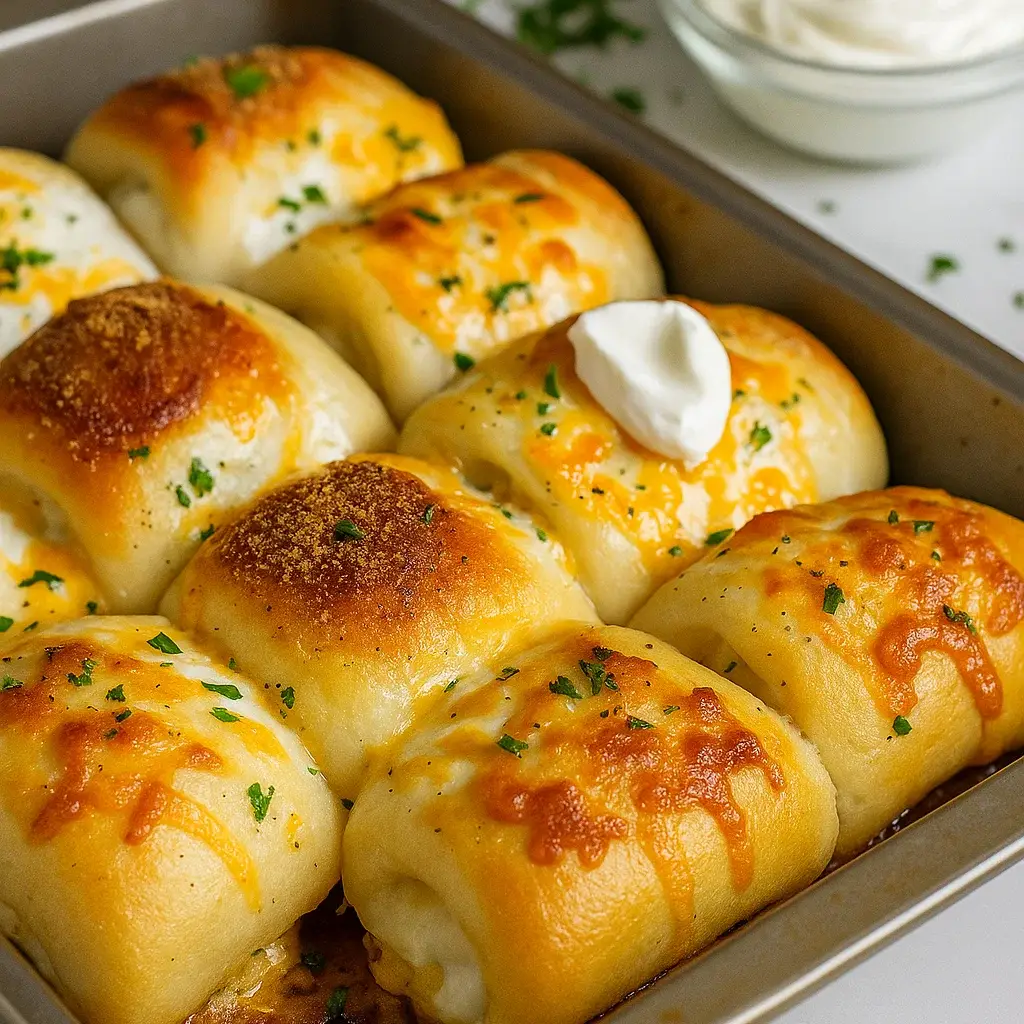
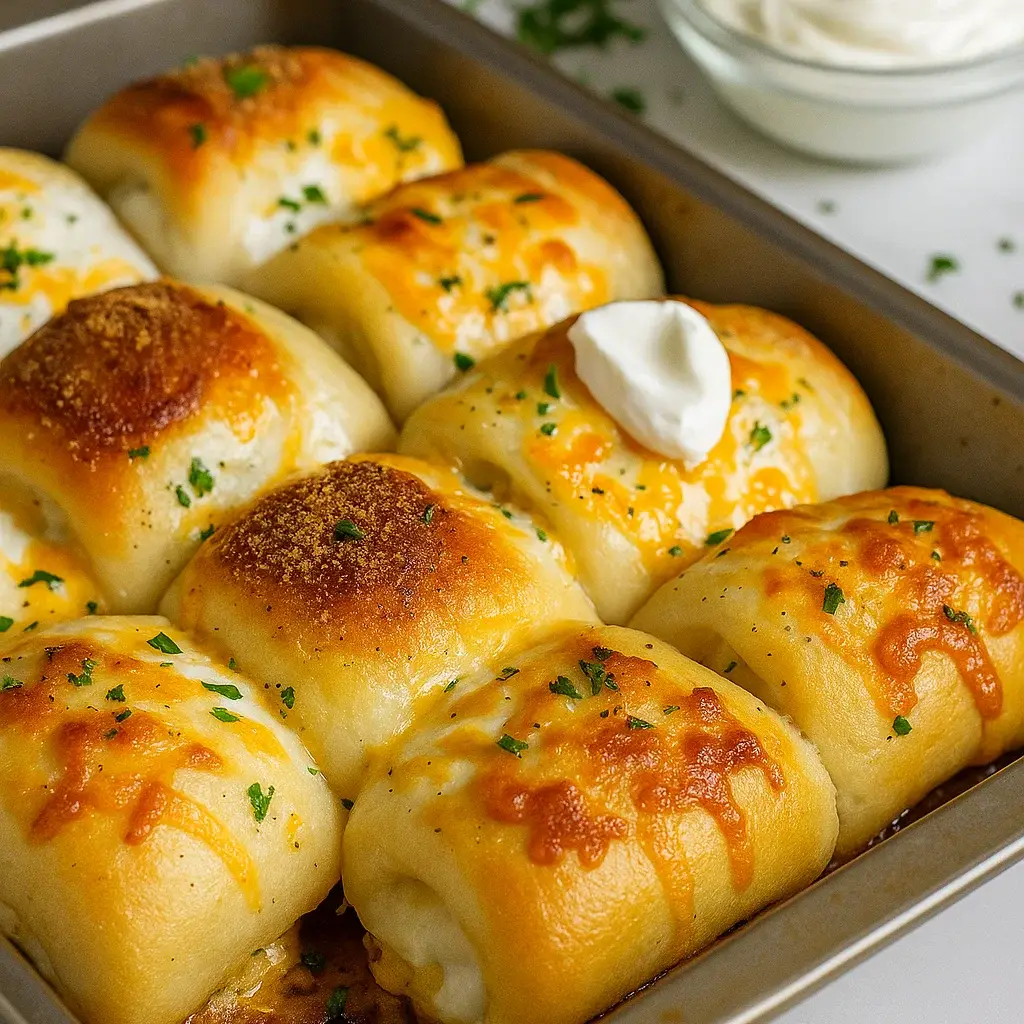
The Perfect Flavor Combination: What sets these cheesy garlic butter rollups apart is the way the rich garlic butter melts into every layer of flaky crescent dough while the cheese creates pockets of gooey goodness. Each bite delivers the perfect balance of savory, buttery, and cheesy flavors.
Incredibly Versatile: These cheesy garlic butter rollups work beautifully as appetizers, side dishes, or even light lunch options. They pair wonderfully with marinara sauce for dipping, complement pasta dishes perfectly, and make excellent party snacks that please crowds of all ages.
Make-Ahead Friendly: One of the best features of these cheesy garlic butter rollups is that you can prepare them hours ahead of time and bake them fresh when needed. This makes them ideal for entertaining when you want to spend time with guests rather than being stuck in the kitchen.
The Secret to Perfect Cheesy Garlic Butter Rollups
After making these cheesy garlic butter rollups countless times, I’ve discovered several key techniques that guarantee success every single time:
Quality Ingredients Matter: The foundation of exceptional cheesy garlic butter rollups starts with high-quality crescent roll dough and fresh garlic. I always use real butter rather than margarine, and freshly shredded cheese melts far better than pre-packaged varieties.
The Art of Rolling: The key to beautiful cheesy garlic butter rollups lies in rolling the dough tightly enough to hold the filling while being gentle enough not to squeeze out all the delicious garlic butter and cheese.
Temperature Control: Baking these cheesy garlic butter rollups at the right temperature ensures they develop a golden-brown exterior while the cheese melts perfectly inside without leaking out.
Premium Ingredients for Outstanding Cheesy Garlic Butter Rollups
For the Flaky Base:
- 1 can (8 oz) refrigerated crescent roll dough (the foundation of perfect texture)
- 2 tablespoons all-purpose flour (for dusting, if needed)
For the Signature Garlic Butter:
- 6 tablespoons unsalted butter, melted (provides rich, creamy flavor)
- 4 large garlic cloves, finely minced (fresh is essential for best flavor)
- 1 teaspoon dried Italian seasoning (adds aromatic herb complexity)
- 1/2 teaspoon garlic powder (enhances the garlic flavor)
- 1/4 teaspoon salt (elevates all flavors)
- 1/4 teaspoon freshly ground black pepper (adds subtle warmth)
For the Cheesy Goodness:
- 1 1/4 cups freshly shredded mozzarella cheese (melts beautifully)
- 1/3 cup freshly grated Parmesan cheese (adds sharp, nutty notes)
- 2 tablespoons fresh parsley, finely chopped (for color and freshness)
Master-Level Instructions for Perfect Cheesy Garlic Butter Rollups
Preparation Excellence:
Step 1: Set the Stage Preheat your oven to 375°F (190°C) and line a large baking sheet with parchment paper. This prevents the cheesy garlic butter rollups from sticking and makes cleanup effortless. Position your oven rack in the center for even browning.
Step 2: Prepare the Dough Canvas Carefully unroll the crescent roll dough onto a clean, lightly floured surface. Instead of separating the triangles, gently press the perforated seams together to create one large rectangle, approximately 12×8 inches. This creates the perfect base for your cheesy garlic butter rollups.
Step 3: Create the Legendary Garlic Butter In a medium bowl, combine the melted butter with minced garlic, Italian seasoning, garlic powder, salt, and pepper. Whisk until well combined – this aromatic mixture is what transforms ordinary dough into extraordinary cheesy garlic butter rollups. Reserve about 2 tablespoons of this mixture for brushing the tops later.
Assembly Artistry:
Step 4: Build the Flavor Foundation Using a pastry brush or the back of a spoon, evenly spread the garlic butter mixture across the entire surface of the dough, leaving a small border around the edges. The key to amazing cheesy garlic butter rollups is ensuring every inch gets this flavorful coating.
Step 5: Add the Cheese Magic Sprinkle the mozzarella cheese evenly over the garlic butter, followed by the Parmesan cheese. Don’t pile it too high in any one area – even distribution ensures every bite of your cheesy garlic butter rollups contains the perfect cheese-to-dough ratio.
Step 6: The Perfect Roll Starting from one long side, carefully roll the dough into a tight log, keeping the filling contained as you go. If any cheese escapes, simply tuck it back in. The tighter you roll, the better your cheesy garlic butter rollups will hold their shape during baking.
Baking to Perfection:
Step 7: Slice with Precision Using a sharp knife or dental floss (which prevents squishing), cut the log into 8-10 equal pieces, each about 1 to 1.5 inches thick. Place the cheesy garlic butter rollups cut-side up on your prepared baking sheet, leaving about 2 inches between each piece for expansion.
Step 8: The Final Touch Brush the tops of each rollup with the reserved garlic butter mixture. This step is crucial for achieving that beautiful golden-brown color and adding an extra layer of flavor to your cheesy garlic butter rollups.
Step 9: Bake to Golden Perfection Bake for 12-15 minutes, or until the cheesy garlic butter rollups are golden brown and the cheese is bubbly. Keep an eye on them during the last few minutes to prevent over-browning. They should sound hollow when tapped gently.
Step 10: The Finishing Flourish Remove from the oven and immediately sprinkle with fresh chopped parsley. Allow the cheesy garlic butter rollups to cool for 2-3 minutes before serving – this brief rest lets the cheese set slightly while keeping them perfectly warm.
Internal Link Section: Explore More Incredible Recipes
While you’re savoring these amazing cheesy garlic butter rollups, discover more fantastic recipes that will complete your perfect meal experience!
These rollups pair beautifully with our collection of perfect sides that complement any gathering. From crispy vegetables to creamy casseroles, these sides create harmony with your cheesy garlic butter rollups.
Love bold flavors? Explore our flavored dips and marinades section for amazing sauces that pair perfectly with these rollups. From classic marinara to spicy aioli, these dips elevate every bite.
Keep your guests happy with our refreshing beverages that cleanse the palate between bites of these rich cheesy garlic butter rollups. From sparkling waters to creative mocktails, these drinks provide the perfect balance.
Looking for more party favorites? Our tasty snacks category features crowd-pleasing options that pair wonderfully with these rollups for a complete appetizer spread.
When you’re ready to plan a full meal around your cheesy garlic butter rollups, browse our hearty main dishes for satisfying entrees that will complete your menu.
Complement these savory rollups with our fresh, vibrant salads that provide a light contrast to the rich, cheesy flavors.
End your meal on a sweet note with our irresistible desserts that provide the perfect finishing touch to any gathering featuring these rollups.
For special dinners, discover our dinner delights that will impress guests and create memorable dining experiences alongside your cheesy garlic butter rollups.
Start special mornings with our breakfast favorites – these rollups actually make an excellent addition to brunch spreads too!
Expert Secrets for Cheesy Garlic Butter Rollups Success
Storage and Reheating: Store leftover cheesy garlic butter rollups in an airtight container in the refrigerator for up to 3 days. To reheat, place them in a 350°F oven for 5-7 minutes, or microwave for 10-15 seconds to restore their warm, gooey texture.
Make-Ahead Magic: You can assemble these cheesy garlic butter rollups up to 4 hours ahead of time. Cover tightly with plastic wrap and refrigerate until ready to bake. Add 2-3 extra minutes to the baking time if starting from cold.
Customization Options: While the classic version is perfect, you can personalize your cheesy garlic butter rollups by adding cooked bacon bits, sun-dried tomatoes, or fresh herbs like basil or oregano to the cheese mixture.
Perfect Presentation: Serve these cheesy garlic butter rollups on a warm platter with small bowls of marinara sauce, ranch dressing, or garlic aioli for dipping. They’re also excellent alongside soup or pasta dishes.
Nutritional Benefits and Serving Suggestions
These cheesy garlic butter rollups provide protein from the cheese, and when served with a fresh salad, create a more balanced meal. The garlic offers antioxidant properties, while the herbs provide additional vitamins and minerals.
Troubleshooting Your Perfect Rollups
Preventing Soggy Bottoms: Ensure your baking sheet is properly preheated and use parchment paper to promote even browning of your cheesy garlic butter rollups.
Avoiding Leaky Filling: Don’t overfill the dough, and make sure to seal the edges properly when rolling. If cheese does leak out during baking, simply scrape it off after cooling.
Achieving Even Browning: Place your cheesy garlic butter rollups with adequate space between them, and brush the tops evenly with the garlic butter mixture for consistent color.
The Perfect Occasions for These Irresistible Rollups
These versatile cheesy garlic butter rollups shine at game day parties, family dinners, potluck gatherings, and holiday celebrations. They’re elegant enough for dinner parties yet casual enough for weeknight meals, making them the ultimate crowd-pleaser for any occasion.
Final Thoughts on These Amazing Rollups
There’s something truly special about cheesy garlic butter rollups that captures hearts and satisfies cravings like few other dishes can. The combination of flaky, buttery dough, aromatic garlic, and melted cheese creates a comfort food experience that’s both familiar and exciting.
These cheesy garlic butter rollups have earned their place as a beloved recipe in kitchens everywhere, and once you try them, you’ll understand exactly why. They’re quick, delicious, impressive, and incredibly satisfying – everything you want in the perfect appetizer or side dish.
Whether you’re hosting a casual get-together, contributing to a potluck, or simply want to treat your family to something special, these cheesy garlic butter rollups deliver exceptional results every single time. The best part? They’re so simple to make that even beginning cooks can achieve professional-looking results.
So preheat that oven, gather your ingredients, and get ready to create what just might become your new signature dish. These cheesy garlic butter rollups are about to become the recipe everyone asks you to bring!

