Prep Time: 15 minutes | Cook Time: 18 minutes | Total Time: 33 minutes
What Makes These Cheesy Garlic Butter Rollups So Special?
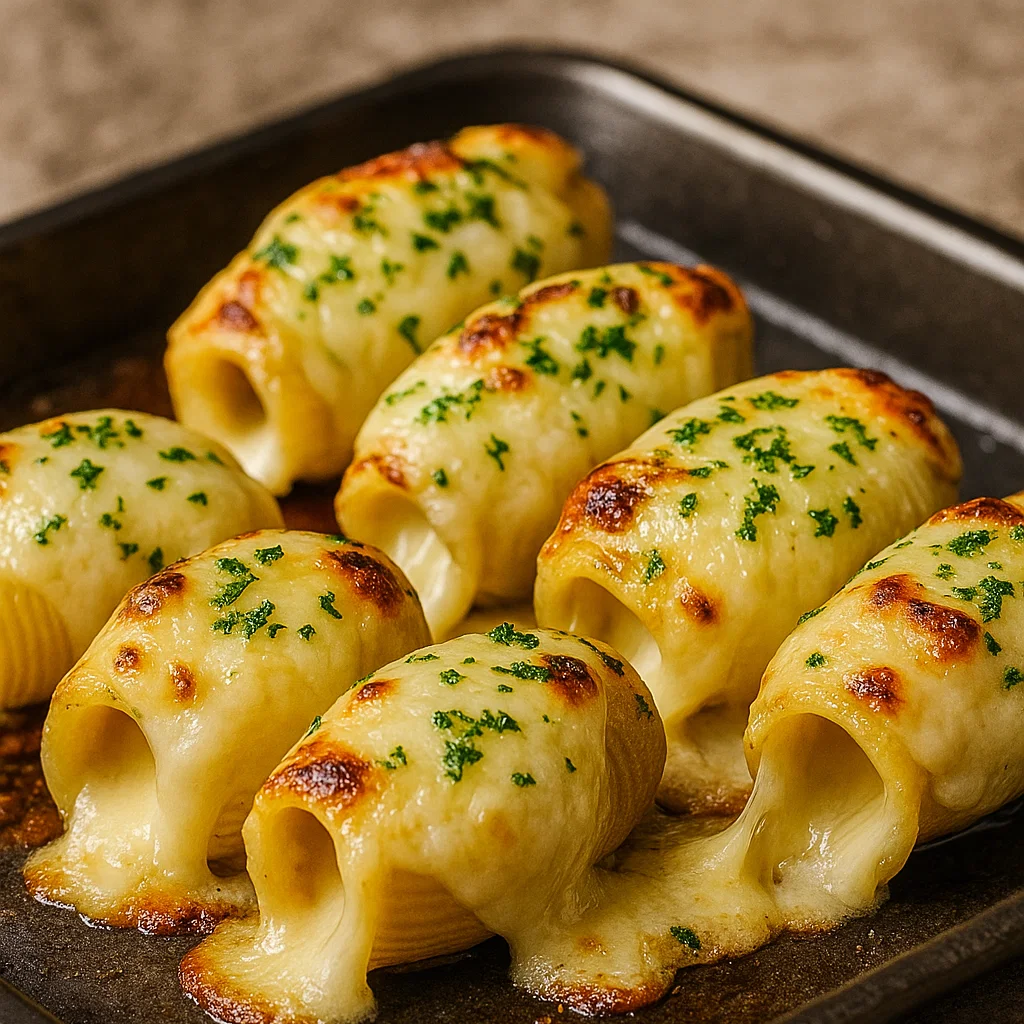
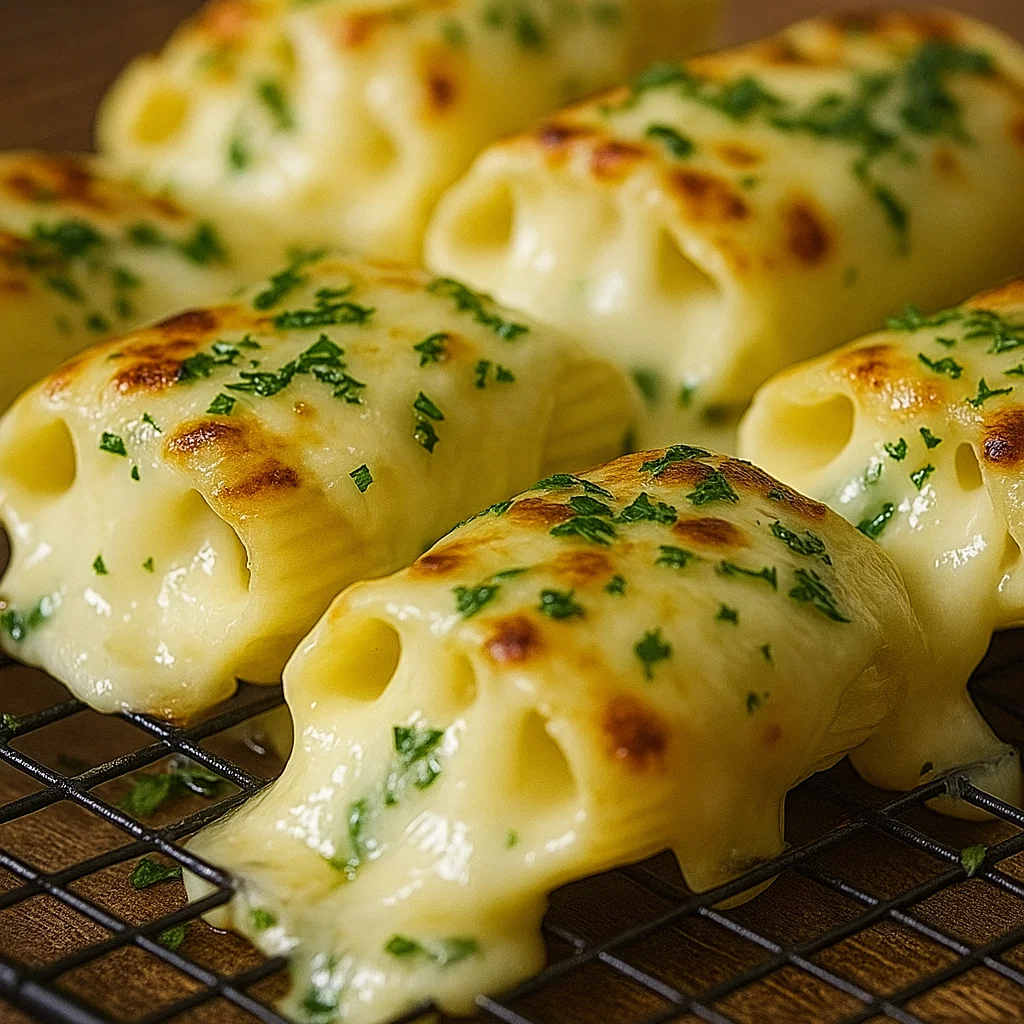
Picture this: tender, buttery dough swirled with aromatic garlic butter and stuffed with gooey mozzarella and sharp Parmesan cheese. When you bake these cheesy garlic butter rollups, your kitchen fills with the most incredible aroma that draws everyone to the table. The exterior becomes beautifully golden and slightly crispy, while the interior remains soft and stretchy with melted cheese in every bite.
These aren’t just any ordinary rolls – they’re a complete sensory experience. The rich garlic butter seeps into every layer of dough, creating pockets of flavor that explode on your tongue. Whether you’re serving them as an appetizer for guests, a side dish for pasta night, or even as a satisfying snack, these cheesy garlic butter rollups never fail to impress.
The Perfect Blend of Simple Ingredients
What I absolutely love about this recipe is how it transforms everyday pantry staples into something extraordinary. You don’t need any fancy ingredients or complicated techniques to create these restaurant-quality cheesy garlic butter rollups at home.
Essential Ingredients You’ll Need:
For the Dough:
- 1 tube (8 oz) refrigerated crescent roll dough (the convenience of store-bought saves time while still delivering incredible results)
- 2 tablespoons all-purpose flour (for dusting)
For the Garlic Butter Mixture:
- 4 tablespoons unsalted butter, melted (creates that rich, luxurious base)
- 4 cloves fresh garlic, minced finely (fresh garlic makes all the difference in flavor intensity)
- 1 teaspoon dried Italian seasoning (adds depth and aromatic herbs)
- 1/2 teaspoon garlic powder (amplifies the garlic flavor)
- 1/4 teaspoon salt (enhances all the other flavors)
- 1/8 teaspoon black pepper (adds a subtle bite)
For the Cheese Filling:
- 1 1/2 cups shredded mozzarella cheese (provides that irresistible stretch and mild flavor)
- 1/2 cup freshly grated Parmesan cheese (adds sharp, nutty notes that complement the garlic)
- 2 tablespoons fresh parsley, chopped (brings color and freshness to cut through the richness)
Step-by-Step Instructions for Perfect Rollups
Creating these cheesy garlic butter rollups is surprisingly straightforward, but attention to detail makes all the difference in achieving that perfect golden exterior and gooey interior.
Preparation Phase:
Begin by preheating your oven to 375°F (190°C). This temperature ensures the dough bakes evenly while giving you that beautiful golden color. Line a large baking sheet with parchment paper – this prevents sticking and makes cleanup effortless.
Creating the Garlic Butter Magic:
In a small bowl, combine the melted butter with minced garlic, Italian seasoning, garlic powder, salt, and pepper. Mix thoroughly until all ingredients are well incorporated. The aroma alone will make your mouth water! Set aside about 2 tablespoons of this mixture for brushing on top of the rollups later.
Preparing the Dough:
Carefully unroll the crescent roll dough onto a lightly floured surface. Here’s a crucial step many people skip: gently press the perforated seams together to create one large rectangle. This prevents the filling from leaking out during baking and ensures uniform cheesy garlic butter rollups.
Assembly Time:
Using a pastry brush or the back of a spoon, spread the garlic butter mixture evenly across the entire surface of the dough, making sure to reach all the way to the edges. Don’t be stingy here – this is where most of your flavor comes from!
Next, sprinkle the mozzarella cheese evenly over the garlic butter, followed by the Parmesan cheese. The combination of these two cheeses creates the perfect balance of meltiness and sharp flavor that makes these cheesy garlic butter rollups so addictive.
Rolling and Cutting:
Starting from one of the longer sides, carefully roll the dough into a tight log. Take your time with this step – rolling too quickly can cause the filling to shift or leak out. Once you have a nice, even log, use a sharp knife or unflavored dental floss to cut it into 12 equal pieces.
Final Touches:
Place each rollup cut-side up on your prepared baking sheet, leaving about 2 inches between each one to allow for expansion. Brush the tops with the reserved garlic butter mixture – this creates that gorgeous golden finish and adds an extra layer of flavor.
Baking to Perfection:
Bake for 15-18 minutes, or until the cheesy garlic butter rollups are golden brown and the cheese is bubbling. The exact timing may vary depending on your oven, so keep an eye on them after 15 minutes. You want them beautifully golden but not overdone.
Remove from the oven and immediately sprinkle with fresh chopped parsley for a pop of color and freshness. Let them cool for just 2-3 minutes before serving – this allows the cheese to set slightly while still maintaining that perfect stretchy texture.
Perfect Pairings and Serving Suggestions
These cheesy garlic butter rollups are incredibly versatile and pair beautifully with so many dishes. Here are some of my favorite ways to serve them:
As an Appetizer: Serve them warm with a side of marinara sauce for dipping. The tangy tomato sauce provides a perfect contrast to the rich, buttery flavors. They’re also fantastic with a creamy ranch dressing or a spicy arrabbiata sauce.
With Pasta Dishes: These rollups make an excellent accompaniment to any pasta dinner. Try them alongside our hearty main dishes for a complete Italian-inspired meal.
Game Day Snacks: Cut them into smaller pieces and serve as party appetizers. They’re perfect for tasty snacks that will have your guests coming back for more.
Soup and Salad Companion: Pair them with a light soup or one of our fresh vibrant salads for a balanced meal.
Creative Variations to Try
Once you’ve mastered the basic cheesy garlic butter rollups, there are endless ways to customize them:
Herb Lovers’ Version: Add fresh basil, oregano, or thyme to the garlic butter mixture for an extra herbaceous flavor.
Spicy Kick: Include red pepper flakes or a pinch of cayenne pepper in the garlic butter for those who like a little heat.
Protein Addition: Add cooked bacon bits, pepperoni, or Italian sausage to the cheese filling for a heartier version.
Vegetarian Delight: Include sautéed mushrooms, bell peppers, or sun-dried tomatoes for extra flavor and nutrition.
Pro Tips for Success
After making these cheesy garlic butter rollups dozens of times, I’ve learned a few tricks that guarantee success every time:
- Don’t Overfill: While it’s tempting to add extra cheese, overfilling can cause the rollups to burst during baking.
- Sharp Knife is Key: A sharp knife ensures clean cuts without dragging the dough or displacing the filling.
- Fresh Garlic Always: Pre-minced garlic from a jar just doesn’t compare to the intense flavor of freshly minced garlic.
- Room Temperature Cheese: Let your cheese come to room temperature for easier sprinkling and better melting.
Storage and Reheating
These cheesy garlic butter rollups are best enjoyed fresh from the oven, but they store beautifully for later enjoyment. Store leftovers in an airtight container in the refrigerator for up to 3 days.
To reheat, place them in a 350°F oven for 5-7 minutes until warmed through. This method maintains their texture better than microwaving, which can make them soggy.
Why This Recipe Works Every Time
The success of these cheesy garlic butter rollups lies in the perfect balance of flavors and textures. The buttery garlic mixture penetrates every layer of dough, while the combination of mozzarella and Parmesan creates that irresistible cheese pull we all crave.
The use of crescent roll dough eliminates the need for making dough from scratch, making this recipe accessible to home cooks of all skill levels. Yet the result is so impressive that guests will think you spent hours in the kitchen.
Complete Your Meal
These cheesy garlic butter rollups are fantastic on their own, but they truly shine when paired with complementary dishes. Consider serving them alongside our dinner delights for a special occasion meal, or enjoy them as a satisfying snack with one of our refreshing beverages.
For those who love starting their day with something special, these rollups also make an excellent addition to breakfast favorites – just imagine them warm from the oven with your morning coffee!
Don’t forget to explore our perfect sides collection for more dishes that complement these delicious rollups, and check out our flavored dips marinades for exciting dipping sauce options.
The Final Word
These cheesy garlic butter rollups represent everything I love about comfort food – they’re simple to make, use accessible ingredients, and deliver maximum flavor impact. Whether you’re a seasoned home cook or just starting your culinary journey, this recipe will become a treasured addition to your repertoire.
The beauty of these rollups lies not just in their incredible taste, but in their ability to bring people together. There’s something special about sharing warm, fresh-baked bread with the people you love. So preheat that oven, gather your ingredients, and get ready to create some delicious memories with these absolutely irresistible cheesy garlic butter rollups.
After all, life’s too short for ordinary bread – make it cheesy, make it garlicky, and make it memorable!

