Prep Time: 20 minutes Cook Time: 14 minutes Total Time: 34 minutes Serves: 24
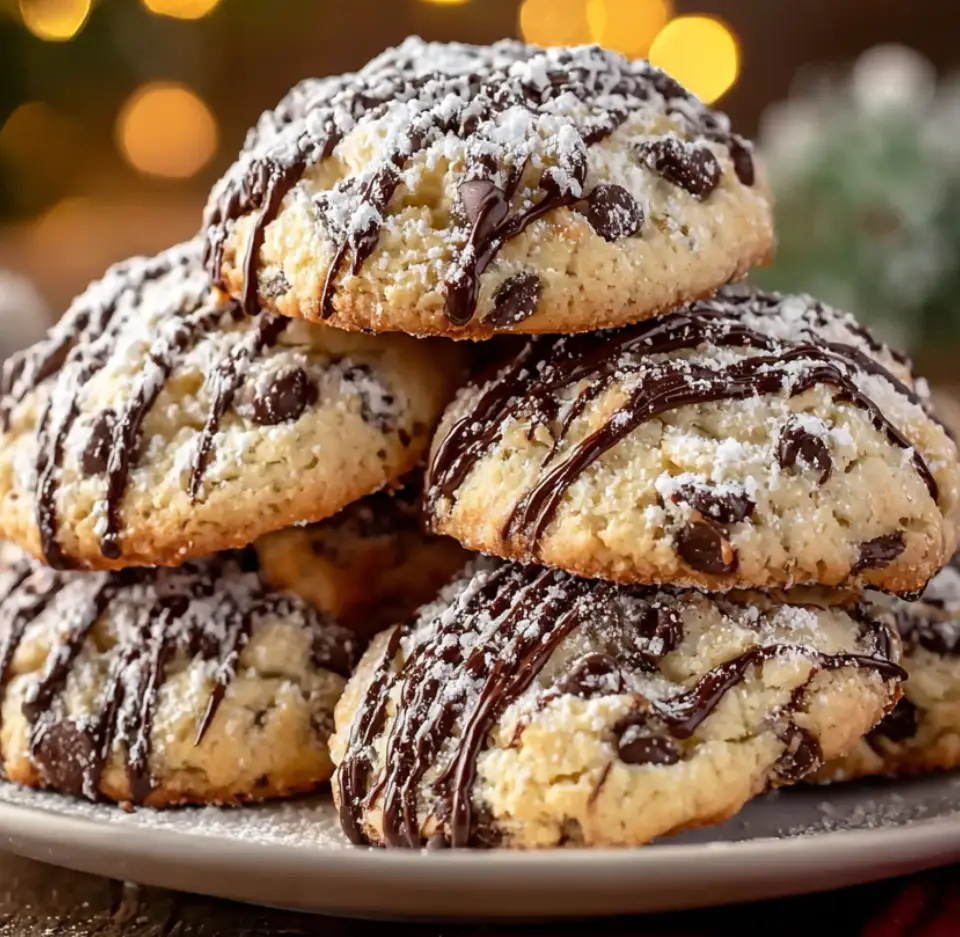
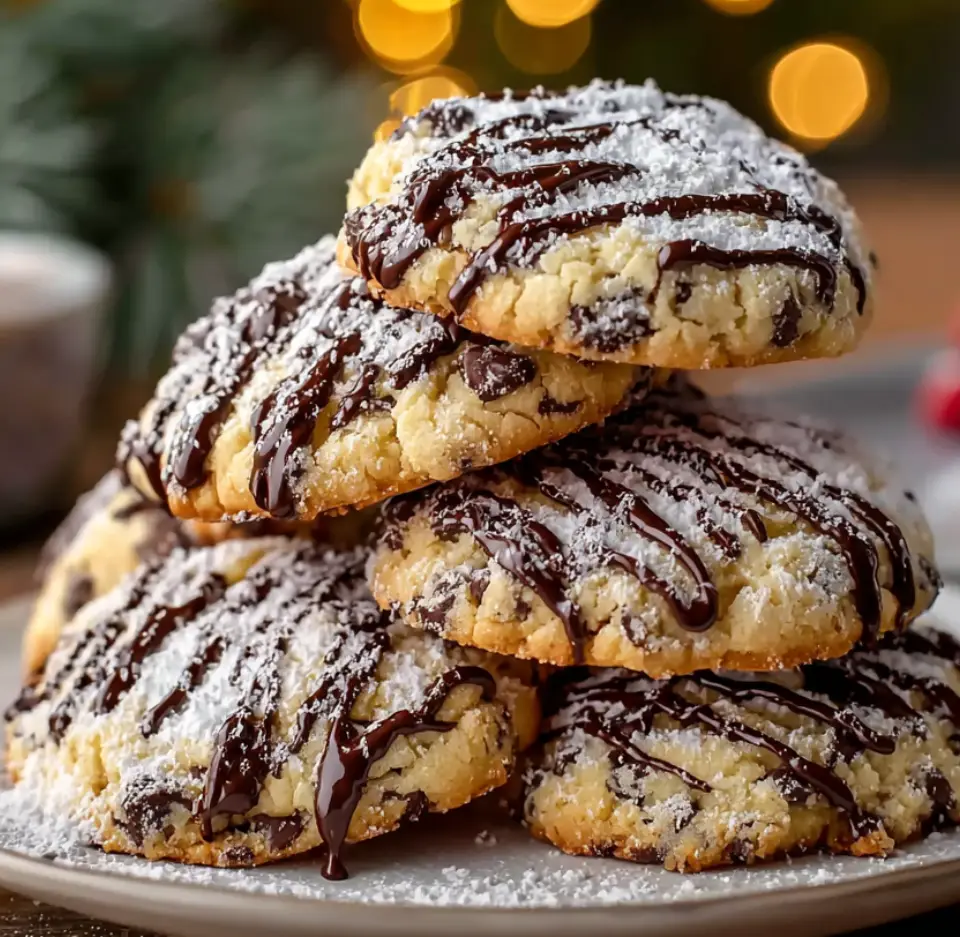
Experience the beloved flavors of traditional Italian cannoli transformed into delightful bite-sized treats with these exceptional cannoli cookies that capture every element of the classic Sicilian pastry because this ingenious recipe delivers creamy ricotta texture, chocolate chip sweetness, and aromatic spices in convenient cookie form. These irresistible cannoli cookies combine tender, cake-like texture with authentic Italian flavors because they feature rich ricotta cheese, mini chocolate chips, pistachios, and warm spices that create an unforgettable eating experience perfect for holiday celebrations and everyday indulgence.
Why Cannoli Cookies Deliver Authentic Italian Flavor
These remarkable cannoli cookies succeed brilliantly because they capture the essence of traditional cannoli without requiring the time-consuming process of making shells and preparing separate filling components. The ricotta cheese provides signature moistness and delicate tang because it creates the tender, almost cake-like crumb that distinguishes these cookies from ordinary baked goods.
The genius behind these cannoli cookies lies in their versatility because they function equally well as elegant dessert offerings, holiday cookie tray additions, or casual afternoon treats that satisfy sweet cravings. The combination of chocolate, citrus, and warm spices replicates authentic cannoli flavor profiles because each ingredient contributes specific notes that Italian bakers have perfected over generations.
These delightful cannoli cookies demonstrate culinary innovation because they transform a labor-intensive pastry into an accessible recipe that home bakers can master confidently while maintaining the sophisticated flavors that make traditional cannoli so beloved. The soft, pillowy texture contrasts beautifully with crunchy chocolate chips and pistachios because this textural variety creates interesting eating experiences that keep people reaching for more.
Essential Ingredients for Perfect Cannoli Cookies
For the Cookie Base:
- 2 1/2 cups all-purpose flour
- 2 teaspoons baking powder
- 1/2 teaspoon salt
- 1 teaspoon ground cinnamon
- 1/4 teaspoon ground nutmeg
- 1/2 cup unsalted butter, softened
- 3/4 cup granulated sugar
- 2 large eggs, room temperature
- 1 cup whole milk ricotta cheese
- 2 teaspoons vanilla extract
- 1 tablespoon orange zest
For Mix-Ins:
- 3/4 cup mini chocolate chips
- 1/2 cup shelled pistachios, chopped
For Finishing:
- 1/2 cup dark chocolate, melted
- Powdered sugar for dusting
- Additional chopped pistachios for garnish
The Art of Creating Cannoli Cookies
Mastering these wonderful cannoli cookies requires understanding the relationship between ricotta moisture content, mixing technique, and baking time because success depends on achieving the perfect balance between tender texture and proper structure. The ricotta cheese must be properly drained because excess liquid creates spreading issues and prevents cookies from holding their characteristic dome shape.
The creaming method proves essential because thoroughly beating butter and sugar incorporates air that creates light, fluffy texture rather than dense, heavy results. The spice combination enhances rather than overwhelms because balanced seasoning allows the subtle ricotta flavor to shine while providing the warm notes associated with traditional cannoli filling.
Temperature control affects final outcomes significantly because room-temperature ingredients emulsify more effectively, creating cohesive batters that bake into tender cannoli cookies rather than tough, dry versions that result from cold ingredients that resist proper blending.
Step-by-Step Instructions for Cannoli Cookies
Step 1: Prepare the Ricotta
Drain ricotta cheese in a fine-mesh strainer set over a bowl for 30 minutes because removing excess moisture prevents spreading and ensures proper texture. Press gently with a spatula to extract liquid because excessive moisture creates flat, pancake-like cookies instead of nicely domed ones.
Professional Tip: Line the strainer with cheesecloth or paper towels because these materials wick away moisture more effectively than straining alone.
Key Points: The ricotta should have a thick, almost paste-like consistency after draining because proper moisture removal is crucial for successful cannoli cookies that maintain their shape.
Step 2: Combine Dry Ingredients
Whisk together flour, baking powder, salt, cinnamon, and nutmeg in a medium bowl because thorough mixing distributes leavening and spices evenly throughout the batter. Set aside because separating wet and dry ingredients streamlines the mixing process.
Professional Tip: Sift the flour if you want extra-tender cookies because sifting aerates flour and removes any lumps that could create dense spots.
Key Points: Accurate measuring proves essential because too much flour creates dry, crumbly cannoli cookies, while too little results in spreading issues and flat shapes.
Step 3: Cream Butter and Sugar
Beat softened butter and sugar together for 3-4 minutes until light and fluffy because this creaming process incorporates air bubbles that create tender texture. The mixture should appear pale and increase in volume because proper creaming is foundational to successful cookie texture.
Professional Tip: Use a stand mixer with paddle attachment because consistent mixing action creates better results than hand mixing, which requires significant effort.
Key Points: Scrape down bowl sides frequently during creaming because unmixed butter and sugar pockets create uneven texture in finished cannoli cookies.
Step 4: Add Wet Ingredients
Beat in eggs one at a time, mixing well after each addition because gradual incorporation creates stable emulsions. Add drained ricotta, vanilla extract, and orange zest, mixing until just combined because these ingredients provide moisture and distinctive flavor.
Professional Tip: Bring eggs to room temperature by placing them in warm water for 5 minutes because cold eggs can cause butter to re-solidify.
Key Points: The batter may appear slightly curdled after adding ricotta because the cheese’s texture creates this appearance, but it will come together when flour is added.
Step 5: Incorporate Dry Ingredients
Add flour mixture to wet ingredients in three additions, mixing on low speed until just combined because gradual incorporation prevents over-mixing. Stop mixing when a few flour streaks remain because residual dry patches will blend during the final folding.
Professional Tip: Mix only until ingredients are barely combined because over-mixing develops gluten that creates tough, chewy cannoli cookies instead of tender ones.
Key Points: The dough should be soft and slightly sticky because this consistency indicates proper moisture balance essential for cake-like texture.
Step 6: Fold in Mix-Ins
Gently fold in mini chocolate chips and chopped pistachios using a spatula because this manual technique prevents crushing the chips. Distribute evenly because consistent mix-in distribution ensures every cookie contains chocolate and nuts.
Professional Tip: Reserve a few chocolate chips and pistachios for pressing into cookie tops before baking because this creates attractive appearance.
Key Points: Use mini chocolate chips rather than regular size because smaller chips distribute more evenly throughout these tender cannoli cookies.
Step 7: Shape and Bake
Scoop dough into tablespoon-sized portions and place on parchment-lined baking sheets, spacing them 2 inches apart because these cookies spread slightly during baking. Bake at 350°F for 12-14 minutes until edges are lightly golden because over-baking creates dry texture.
Professional Tip: Use a cookie scoop for uniform sizing because consistent portions ensure even baking and professional appearance.
Key Points: The centers should appear slightly underdone when removed from the oven because residual heat continues cooking during cooling, preventing over-baking.
Step 8: Cool and Finish
Allow cookies to cool on baking sheets for 5 minutes before transferring to wire racks because this brief resting period allows structure to set. Drizzle with melted chocolate and dust with powdered sugar once completely cool because finishing touches create bakery-worthy presentation.
Professional Tip: Use a fork to drizzle chocolate in decorative patterns because this technique creates more attractive

