Prep Time: 20 minutes | Chill Time: 4 hours | Total Time: 4 hours 20 minutes
Why This No-Bake Cherry Cheesecake Works Every Time
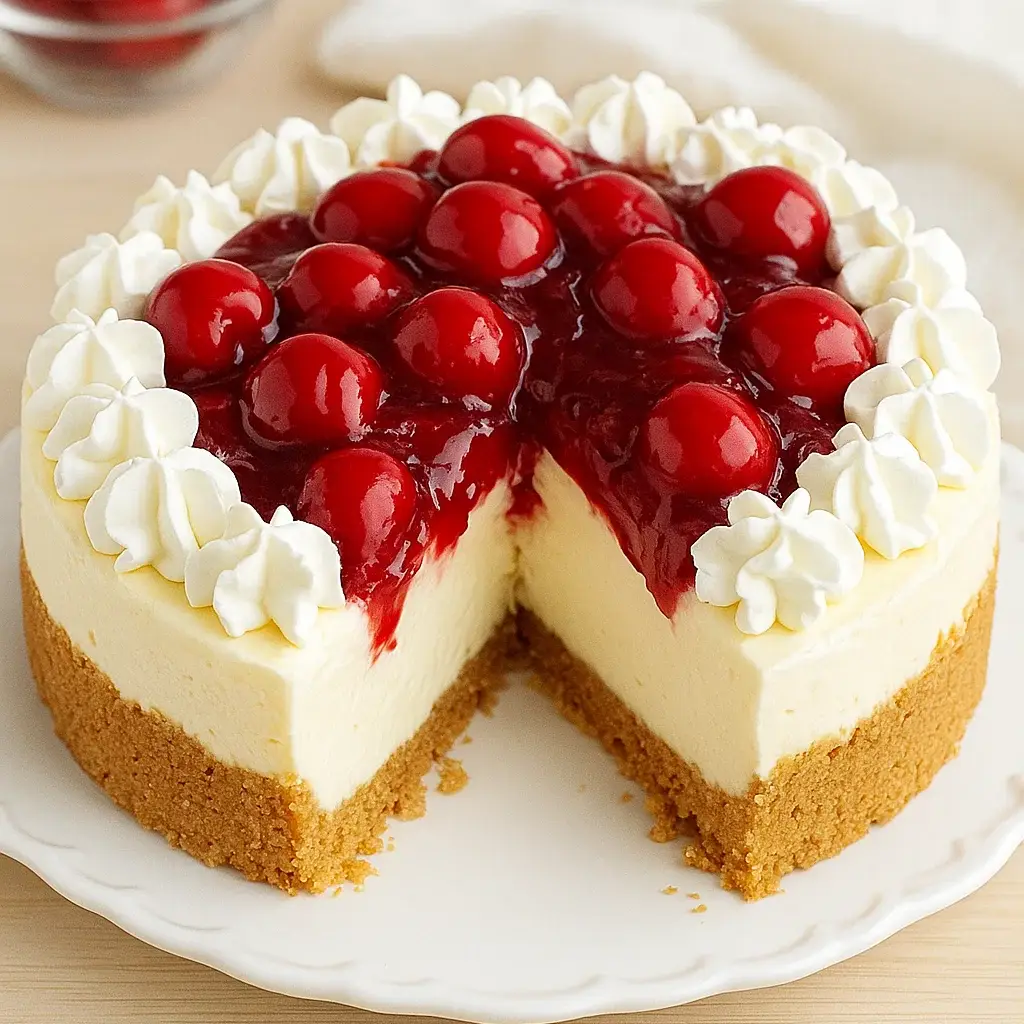
The secret to this foolproof no-bake cherry cheesecake recipe lies in the perfect balance of ingredients and technique. Unlike traditional baked cheesecakes that can crack or sink, this version sets beautifully in the refrigerator, creating a smooth, creamy texture that slices cleanly every single time.
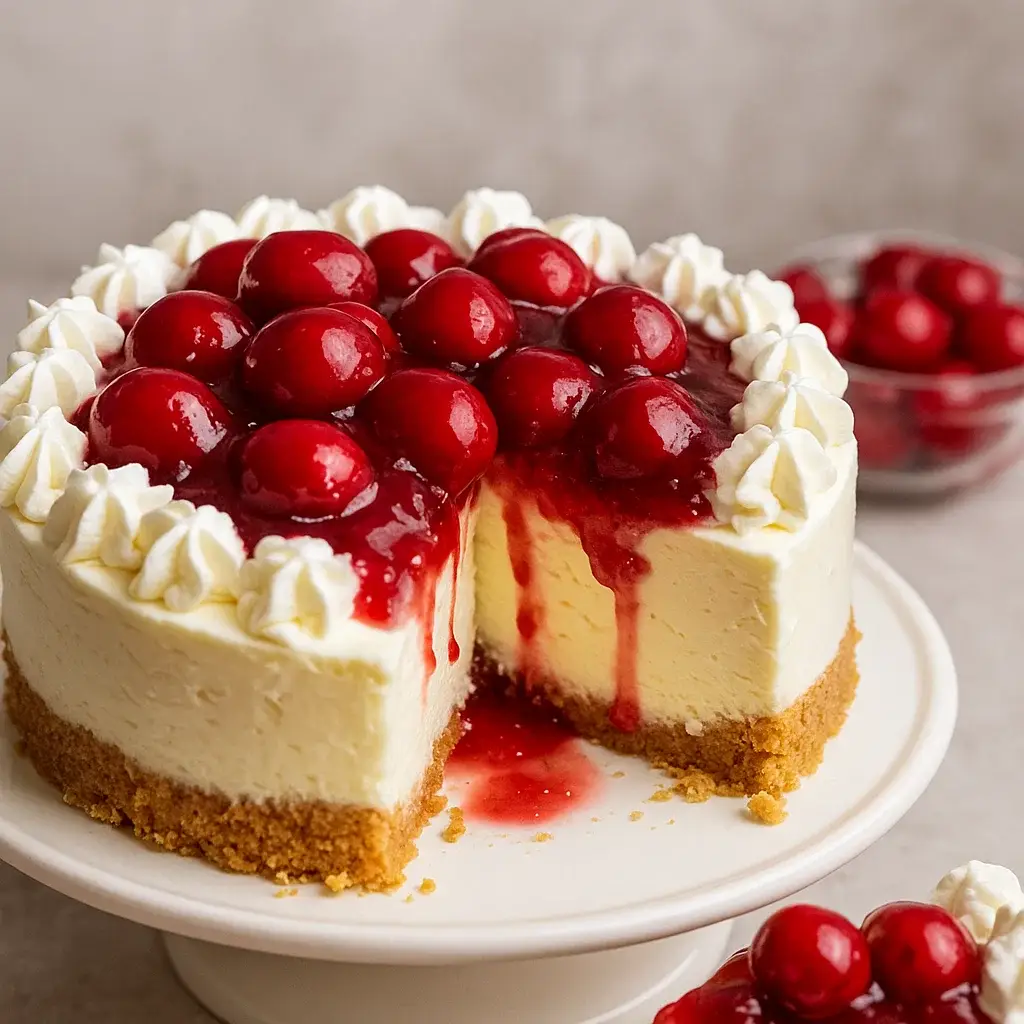
What makes this recipe particularly special is how the graham cracker crust provides the perfect textural contrast to the silky filling, while the cherry topping adds that burst of fruity sweetness that makes each bite absolutely irresistible. I’ve served this no-bake cherry cheesecake at countless gatherings, and it never fails to be the first dessert to disappear from the table.
Essential Ingredients for Perfect No-Bake Cherry Cheesecake
For the Graham Cracker Crust:
- 1½ cups graham cracker crumbs (about 12 full graham crackers, finely crushed)
- ⅓ cup granulated sugar
- 6 tablespoons unsalted butter, melted
- ¼ teaspoon ground cinnamon (optional, but adds warmth)
For the Creamy Cheesecake Filling:
- 16 oz cream cheese, softened to room temperature (this is crucial for smooth mixing)
- ¾ cup powdered sugar (creates the perfect sweetness level)
- 1 teaspoon pure vanilla extract
- 1½ cups heavy whipping cream, cold
- 2 tablespoons fresh lemon juice (brightens the flavor beautifully)
For the Cherry Topping:
- 1 can (21 oz) cherry pie filling (or make homemade with fresh cherries)
- 1 tablespoon cornstarch (if using fresh cherries)
- 2 tablespoons granulated sugar (if using fresh cherries)
Step-by-Step Instructions for No-Bake Cherry Cheesecake Perfection
Preparing the Graham Cracker Crust
Creating the foundation for your no-bake cherry cheesecake starts with achieving the perfect crust texture. In a medium mixing bowl, combine the graham cracker crumbs, sugar, and cinnamon. The key here is ensuring your graham crackers are crushed to an even, fine consistency—not powder, but small, uniform pieces that will hold together beautifully.
Slowly drizzle the melted butter over the crumb mixture while stirring continuously with a fork. The mixture should resemble wet sand and hold together when pressed between your fingers. If it seems too dry, add an additional tablespoon of melted butter.
Press this mixture firmly and evenly into the bottom of a 9-inch springform pan or pie dish. I like to use the bottom of a measuring cup to ensure even distribution and proper compaction. The crust should feel solid but not overly packed. Refrigerate for at least 30 minutes while you prepare the filling.
Creating the Silky Cheesecake Filling
The heart of any exceptional no-bake cherry cheesecake lies in achieving that perfectly smooth, cloud-like filling. Begin by ensuring your cream cheese is truly at room temperature—this cannot be overstated. Cold cream cheese will create lumps that are nearly impossible to eliminate later.
In a large mixing bowl, beat the softened cream cheese with an electric mixer on medium speed for about 2 minutes until it’s completely smooth and fluffy. Gradually add the powdered sugar, beating continuously until the mixture is light and airy, approximately 3-4 minutes. The texture should be reminiscent of silky frosting.
Add the vanilla extract and lemon juice, mixing until just combined. The lemon juice not only adds a subtle brightness that balances the richness but also helps the filling set properly.
In a separate, chilled bowl, whip the cold heavy cream to stiff peaks using clean beaters. This typically takes 3-4 minutes on high speed. Be careful not to overwhip, as this can lead to a grainy texture.
Using a large spoon or rubber spatula, gently fold one-third of the whipped cream into the cream cheese mixture to lighten it. Then, carefully fold in the remaining whipped cream in two additions, being mindful not to deflate the airy texture you’ve created.
Assembly and Final Touches
Spoon the creamy filling over the chilled crust, spreading it evenly with an offset spatula. The filling should create a smooth, level surface that extends to the edges of the crust.
For the cherry topping, if using canned pie filling, simply spoon it evenly over the cheesecake filling, creating an attractive pattern. If you prefer using fresh cherries, combine them with cornstarch and sugar in a small saucepan, cooking over medium heat until thickened, about 5-7 minutes. Allow to cool completely before adding to the cheesecake.
Cover the completed no-bake cherry cheesecake with plastic wrap, ensuring the wrap doesn’t touch the surface, and refrigerate for at least 4 hours, though overnight is preferred for the best texture and flavor development.
Expert Tips for No-Bake Cherry Cheesecake Success
Through years of making this no-bake cherry cheesecake, I’ve discovered several secrets that elevate this dessert from good to absolutely extraordinary:
Temperature matters immensely. Always ensure your cream cheese is at true room temperature—it should give slightly when pressed with your finger. If you’re short on time, cut the cream cheese into smaller cubes and let them sit at room temperature for 30 minutes, or place the wrapped blocks in a bowl of warm water for 10 minutes.
Don’t rush the chilling process. While it’s tempting to serve this no-bake cherry cheesecake as soon as possible, allowing it to chill overnight creates the perfect texture that slices cleanly and holds its shape beautifully.
Quality ingredients make a difference. Use full-fat cream cheese and real vanilla extract for the richest flavor. The difference is noticeable and worth the small extra investment.
Delicious Variations and Customizations
One of the things I love most about this no-bake cherry cheesecake recipe is its versatility. The basic formula works beautifully with numerous variations:
Chocolate Lovers’ Version: Replace the graham cracker crust with crushed chocolate cookies for a decadent chocolate-cherry combination that’s absolutely divine.
Seasonal Fruit Adaptations: Substitute the cherry topping with fresh strawberries, blueberries, or even a mixed berry compote for variety throughout the year.
Individual Portions: This recipe works wonderfully when made in individual mason jars or small glasses, creating elegant personal desserts perfect for dinner parties.
Storage and Serving Suggestions
Your no-bake cherry cheesecake will maintain its quality for up to 5 days when properly stored in the refrigerator. Cover tightly with plastic wrap or store in an airtight container to prevent the absorption of refrigerator odors.
For the most beautiful presentation, remove the cheesecake from the refrigerator about 10 minutes before serving to make slicing easier. Use a sharp knife dipped in warm water and wiped clean between cuts for the cleanest slices.
Perfect Pairings and Serving Ideas
This no-bake cherry cheesecake pairs beautifully with a variety of complementary flavors and textures. Consider serving alongside some of our other crowd-pleasing recipes:
For a complete dessert spread, try pairing this cheesecake with our irresistible desserts collection, which features complementary treats that work wonderfully together for special occasions.
If you’re planning a full meal, consider starting with something from our fresh vibrant salads category, followed by one of our hearty main dishes, and perhaps some perfect sides to round out the meal.
For summer gatherings, complement this dessert with refreshing beverages that will enhance the overall dining experience. The combination of creamy cheesecake and a cool, refreshing drink creates the perfect ending to any meal.
Frequently Asked Questions About No-Bake Cherry Cheesecake
Can I make this no-bake cherry cheesecake ahead of time? Absolutely! In fact, this no-bake cherry cheesecake actually improves in flavor and texture when made a day ahead. The extra time allows all the flavors to meld together beautifully.
What if my filling doesn’t set properly? If your no-bake cherry cheesecake seems too soft after the recommended chilling time, it likely needs more time in the refrigerator. Ensure it chills for at least 6-8 hours for the firmest texture.
Can I freeze this cheesecake? Yes, this no-bake cherry cheesecake freezes beautifully for up to 3 months. Wrap tightly in plastic wrap and aluminum foil, then thaw in the refrigerator overnight before serving.
The Perfect Dessert for Every Occasion
Whether you’re hosting a summer barbecue, celebrating a birthday, or simply craving something sweet and satisfying, this no-bake cherry cheesecake delivers every time. Its impressive appearance belies its simple preparation, making it the perfect choice when you want to create something special without spending hours in the kitchen.
The combination of the buttery graham cracker crust, silky cream cheese filling, and bright cherry topping creates a harmony of flavors and textures that appeals to dessert lovers of all ages. It’s sophisticated enough for elegant dinner parties yet simple enough for casual family gatherings.
For those busy weeknight dinners when you want to end on a sweet note, pair this dessert with some of our dinner delights for a complete meal that feels special without requiring hours of preparation.
Final Thoughts on This No-Bake Cherry Cheesecake
After years of making and perfecting this no-bake cherry cheesecake recipe, I can confidently say it’s become one of my most treasured desserts. The combination of simplicity and elegance makes it perfect for both novice bakers and experienced cooks looking for a reliable, crowd-pleasing dessert.
The beauty of this no-bake cherry cheesecake extends beyond just its delicious taste—it’s a dessert that brings people together, creates lasting memories, and proves that sometimes the most impressive results come from the simplest methods. Every time I serve this cheesecake, I’m reminded of why I fell in love with baking in the first place: the joy of creating something beautiful and delicious that brings happiness to others.
Whether this is your first attempt at making cheesecake or you’re a seasoned baker looking for a reliable go-to recipe, this no-bake cherry cheesecake will not disappoint. Its foolproof nature and spectacular results make it a recipe you’ll find yourself returning to again and again, creating new memories with each delicious slice.

